This quick guide will help you plan and build rockets for missions you are looking to undertake, and follows the technique utilized by the KSA to plan all their missions. While we’ve had some rockets fail due to design issues with the rocket itself during the ascent to orbit, none of our craft have failed to achieve their objectives once they have made it into space. This includes multi-part missions to Mun, so we will be using a Mun trip as the example for this tutorial. Our goal will be to place a communications satellite into equatorial orbit around Mun.
Define your mission requirements
The first step is to decide what you want to accomplish in your mission. In this case, we want to go to Mun and deploy a communications satellite. Since we won’t be bringing along any kerbals, life support isn’t an issue. We will need communications equipment, batteries to run them on, and solar panels to charge the batteries. We should also want a means to move the satellite after its been deployed and of course a probe core is required to control it.
Now that we know what we’re sending to Mun, let’s figure out what we need to get it there. To do this, we’ll make use of a Delta-V map that will give us the numbers required to get to various places in the Kerbol system. Here is the piece of the map we need to get to Mun, click on the image for the full map.
 The first thing to note is that the Δv required to get to LKO (defined here as 80km) can vary by a few hundred meters per second depending on your ascent profile and the engines you are using. Click the image above and late in the thread you will find discussion on the Δv value for ascent to LKO. We will use the amount given here on the chart so once to LKO it’s 860m/s Δv to transfer us to Mun and then once we get there we need 310m/s Δv to enter into orbit. We don’t actually need all that Δv because we won’t be placing the ComSat into such a low orbit, but we’re going to use the full value anyways so we have some extra fudge room for unforeseen mission problems. The further you travel, the more extra Δv you want to try to bring along. For Mun, all our missions require at least +300m/s Δv, which is enough for a direct return.
So, in total we need at least 4,570m/s Δv to get to Mun. Our requirements are set – let’s start building!
Construct your payload
When building rockets, always build from the top down. The top of the rocket will contain our payload, the communications satellite we defined during our mission planning. Throwing together all the parts needed to match the requirements we made during planning gives us this:

The satellite has RCS thrusters to control its position and even raise/lower its orbit as needed to meet changing mission requirements after it has been placed into orbit. We can use RCS Build Aid to show us how much Δv our little ComSat will have once it’s deployed:

Well that’s a lot! But, since we want it for after deployment, we are not going to factor this directly into our mission planning. What we are going to do however is make note of it, as well as using Kerbal Engineer Redux to write down the mass of our payload. We like to keep our notes close at hand with this notepad.
Build your transfer stage
Next we need the part of the rocket that will take us from orbit around Kerbin to orbit around Mun so we can deploy the satellite. As defined earlier, we need at least 1,170m/s Δv to do this. Slapping together some small fuel tanks and strapping on a highly-efficient vacuum engine and we get the following:

Atop our transfer stage, the first part that we created for this craft was an NRAP test weight. You can see that we set the weight to match that of our payload. We’ve also attached a Procedural Fairing base, but note that we haven’t created any fairings. The weight of the fairings is too small in this case to bother factoring into our calculations. Larger rockets with larger fairings you will want to take into account.
Now, KER gives us the Δv of our transfer stage, which is more than enough at 1,602m/s. Once we subtract the weight of the NRAP from the total weight, we will also have the specific weight of our transfer stage. Make note of both these items again. Save this and each following craft separately.
Build your lift stage
Next up, we need the part of the rocket that will get us from the atmosphere into space. As mentioned before, this will take 3.4km/s of Δv, but we don’t need all of this for the lift stage, as the transfer stage contains enough Δv to take up some of the work of getting into orbit, and we’ll also be building a booster stage. So, slapping together a decoupler, tank and suitable atmospheric lifter engine we end up with:

Note that we are still using vacuum Δv! This is a consideration that is made thanks to our booster stage. As with the transfer stage, this craft was constructed first with an NRAP set to the combined weight of the transfer + payload. Now let’s record our weight and Δv for our lifter, save it, and move on to the final, lowest stage.
Build your booster stage
We at the KSA are big fans of boosters, especially solid fuel ones. Boosters are great thanks to their high TWR, and serve well to get your rocket out of the densest part of the lower atmosphere so that your lift engine is more efficient when it finally kicks in several kilometers up. We’re also big fans of recovering our boosters, and so they are designed as such:

Note that we are using atmospheric Δv here for our boosters, as they will be firing only within the densest parts of the atmosphere. Even if we take into account the atmospheric Δv for our lifter stage, we still have 3,450m/s of Δv combined, which is enough to satisfy our 3.4km/s Δv requirement to get to 70km orbit. Any inefficiency in the ascent can be made up for with the surplus Δv available in our transfer stage.
Here is the complete breakdown of our rocket:
1.230t @ 1,042m/s Payload
1.813t @ 1,602m/s Transfer
8.630t @ 2,806m/s (2,573m/s atmo) Lifter
8.138t @ 877m/s Booster
————————-
19.811t @ 6,327m/s (5,285m/s minus payload Δv)
Important: It’s easy to get to this stage in the build process and see you have much more Δv than you need and assume everything is good. Think again!! The reason we made sure to break down our Δv amounts in stages is because you will be using different amounts of your total Δv at different stages in your mission. It’s totally possible to build a rocket with this much Δv that won’t even make it up into orbit because the majority is in your transfer stage, making it too heavy to get up to orbit after your lifter burns out low in the atmosphere. Make sure each stage of your mission has the Δv required in addition to being larger than your minimum mission amount.
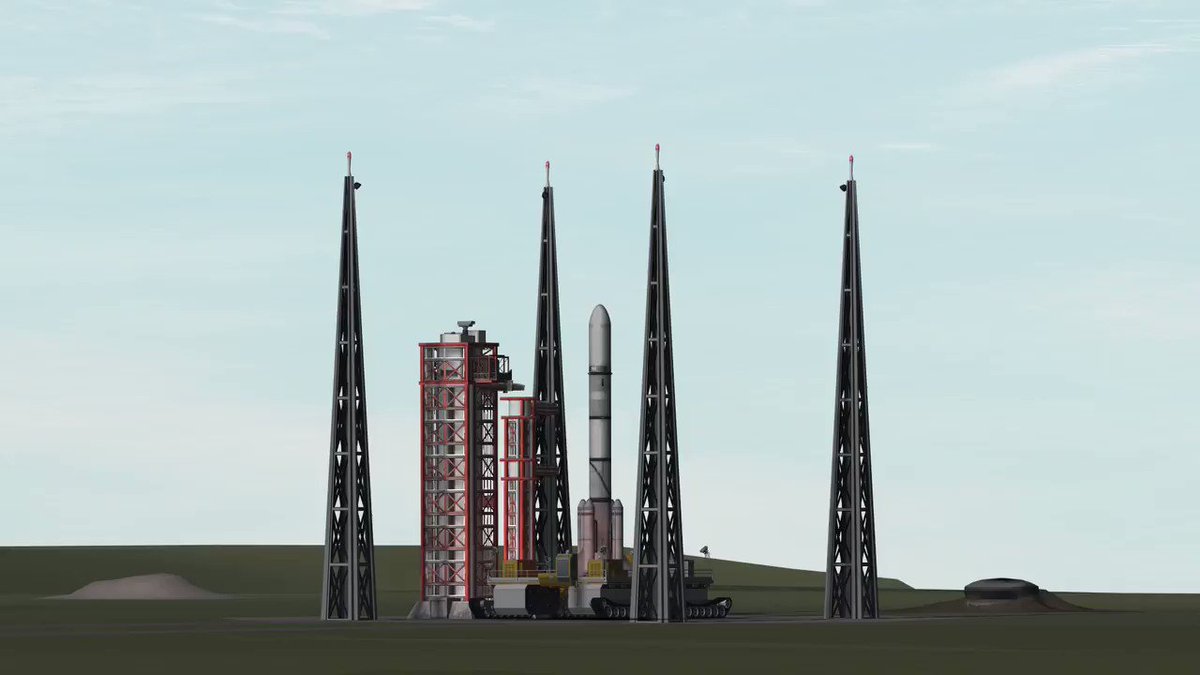
Stage your rocket
Go back now to each craft stage you created, and pull everything under the NRAP out into a sub-assembly. Do this right before staging, not after creating the craft stages, to ensure you have everything set the way you want:
Now return to your original payload craft file, pull out all the sub-assemblies in order and attach them to the payload:

You now have a complete rocket! The first thing you need to do – check your weight. If you did everything right, the total weight of the rocket after attaching all the sub-assemblies should match what you added up from each individual stage. We actually made a mistake creating this rocket and ended up with a weight that didn’t match. Turned out we had input 1.203t for the transfer stage NRAP instead of 1.230t! Be careful of small mistakes like this, they can lead to bigger ones the larger the rocket and the more complex the mission.
The next thing you need to do is of course attach some fairings, and then organize your staging menu properly so that the boosters light first followed by the main engine after they separate… you’ll want to adjust the boosters for low TWR on takeoff, etc.
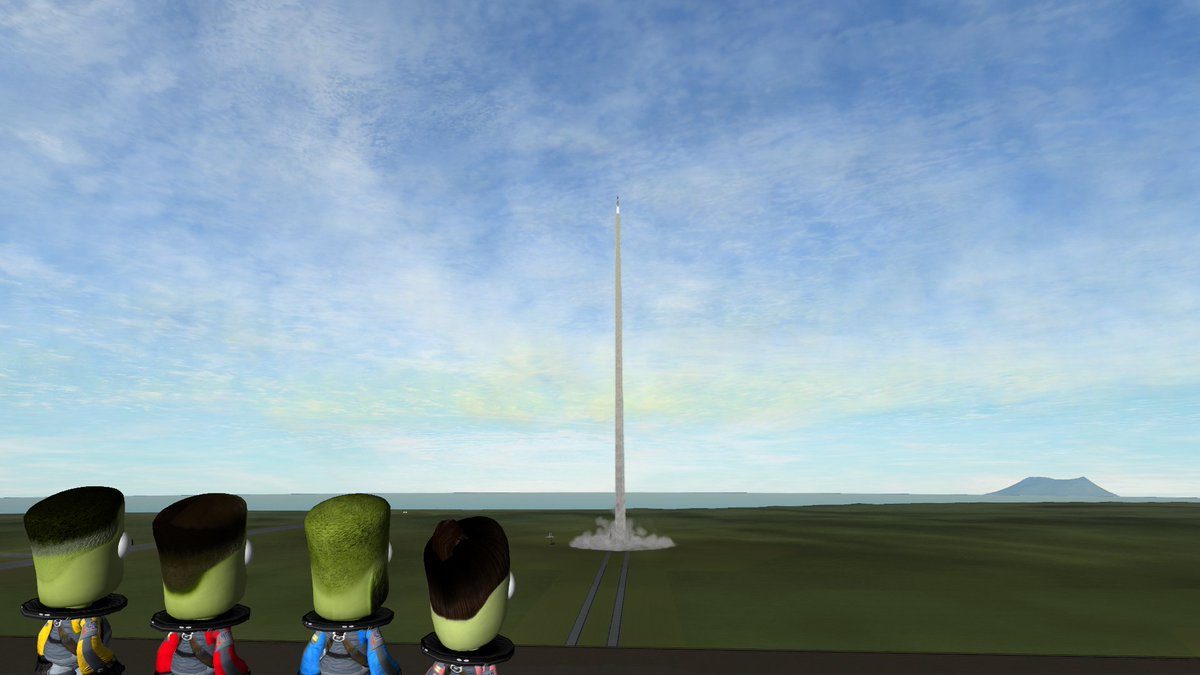
And that’s it! You’re well on your way to Mun and anywhere else in the Kerbol system you wish to go to. The missions will change, the rockets will change, but the overall planning and construction will remain the same. Define your requirements, then build top down to match them. If you need more stages, create them individually as we did for the four included in this tutorial. Hopefully, even if you already knew this, you now have a few new tools in your toolbox to help you with this – NRAP, KER, RCS Build Aid and notepad are all great additions to your program.